Creating realistic tornado sound effects requires far more than a simple wind recording. A convincing tornado is built from multiple layers that work together to reproduce the immense power of a severe storm. Deep rumbles, aggressive wind movement, swirling debris, and turbulent textures all contribute to the final result. Each layer serves a specific purpose: the wind provides continuous motion, debris introduces sudden impacts, and the low frequencies deliver the force and weight associated with a powerful tornado.
The Characteristics of Realistic Tornado Audio
Real tornadoes produce a broad range of frequencies. Massive air movement generates powerful low-end energy. Mid-range tones occur when strong winds interact with buildings, trees, and other structures. High-frequency elements often come from debris spinning and colliding within the vortex. Together, these elements create the chaotic and unmistakable sound associated with severe storms.
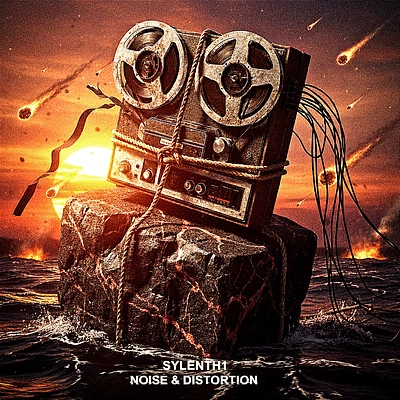
The tornado sound effects in this collection are entirely created using virtual analog synthesizers, specifically Xfer Serum and Sylenth1. Every sound has been carefully designed and refined to achieve a realistic result. Through advanced synthesis techniques, modulation, layering, and detailed processing, these presets recreate the intensity and complexity of extreme weather while remaining clean and ready for professional use.
A Sound Library Prepared for Professional Use
This collection offers a wide variety of tornado-related sound effects ready for immediate use. Inside, you will find powerful wind roars, storm ambiences, debris textures, and other cinematic elements. All files are supplied in professional WAV format, ensuring high-quality audio suitable for modern production workflows.
These sounds are suitable for many different applications. Filmmakers can use them to increase tension during disaster scenes. Game developers can create immersive weather environments. Documentary producers can add believable storm atmospheres, while trailer editors can introduce dramatic energy and impact.
Podcasts and audio dramas can use these storm textures to establish realistic settings. Educational content focusing on meteorology or severe weather can also benefit from authentic-sounding examples. Any cinematic or atmospheric production can gain additional depth and realism through carefully designed storm audio.
The Value of Professionally Designed Sound Effects
Recording authentic tornado audio is beyond the reach of most creators. Severe weather is dangerous, unpredictable, and extremely difficult to record under controlled conditions. Even when recordings are available, obtaining clean and usable material can be challenging.
Professionally designed sound libraries solve these problems. They provide production-ready audio created with attention to detail, proper frequency balance, and realistic movement. Carefully crafted sounds blend naturally into a mix, allowing creators to spend more time on storytelling and less time experimenting.
Commercial Licensing and Peace of Mind
Purchasing sound effects from a professional source also provides licensing clarity. A legitimate commercial license allows these sounds to be used in films, games, advertisements, trailers, online content, and other monetized productions with confidence. Documentation is available if proof of licensing is ever required by platforms or clients.
Free downloads found online frequently come with uncertain ownership or licensing terms. Using such material in commercial productions can expose creators to unnecessary risks. Professional sound libraries eliminate these concerns by providing clearly defined usage rights.
Find the Right Sound for Your Storm Scene
When your project requires tornado audio, a professional sound collection can make a noticeable difference. Powerful wind layers add tension, debris textures increase realism, and atmospheric elements strengthen the overall scene. The result is a storm sequence that feels intense, believable, and cinematic.
Browse the Tornado SFX Collection Here.